What is CEREC®?
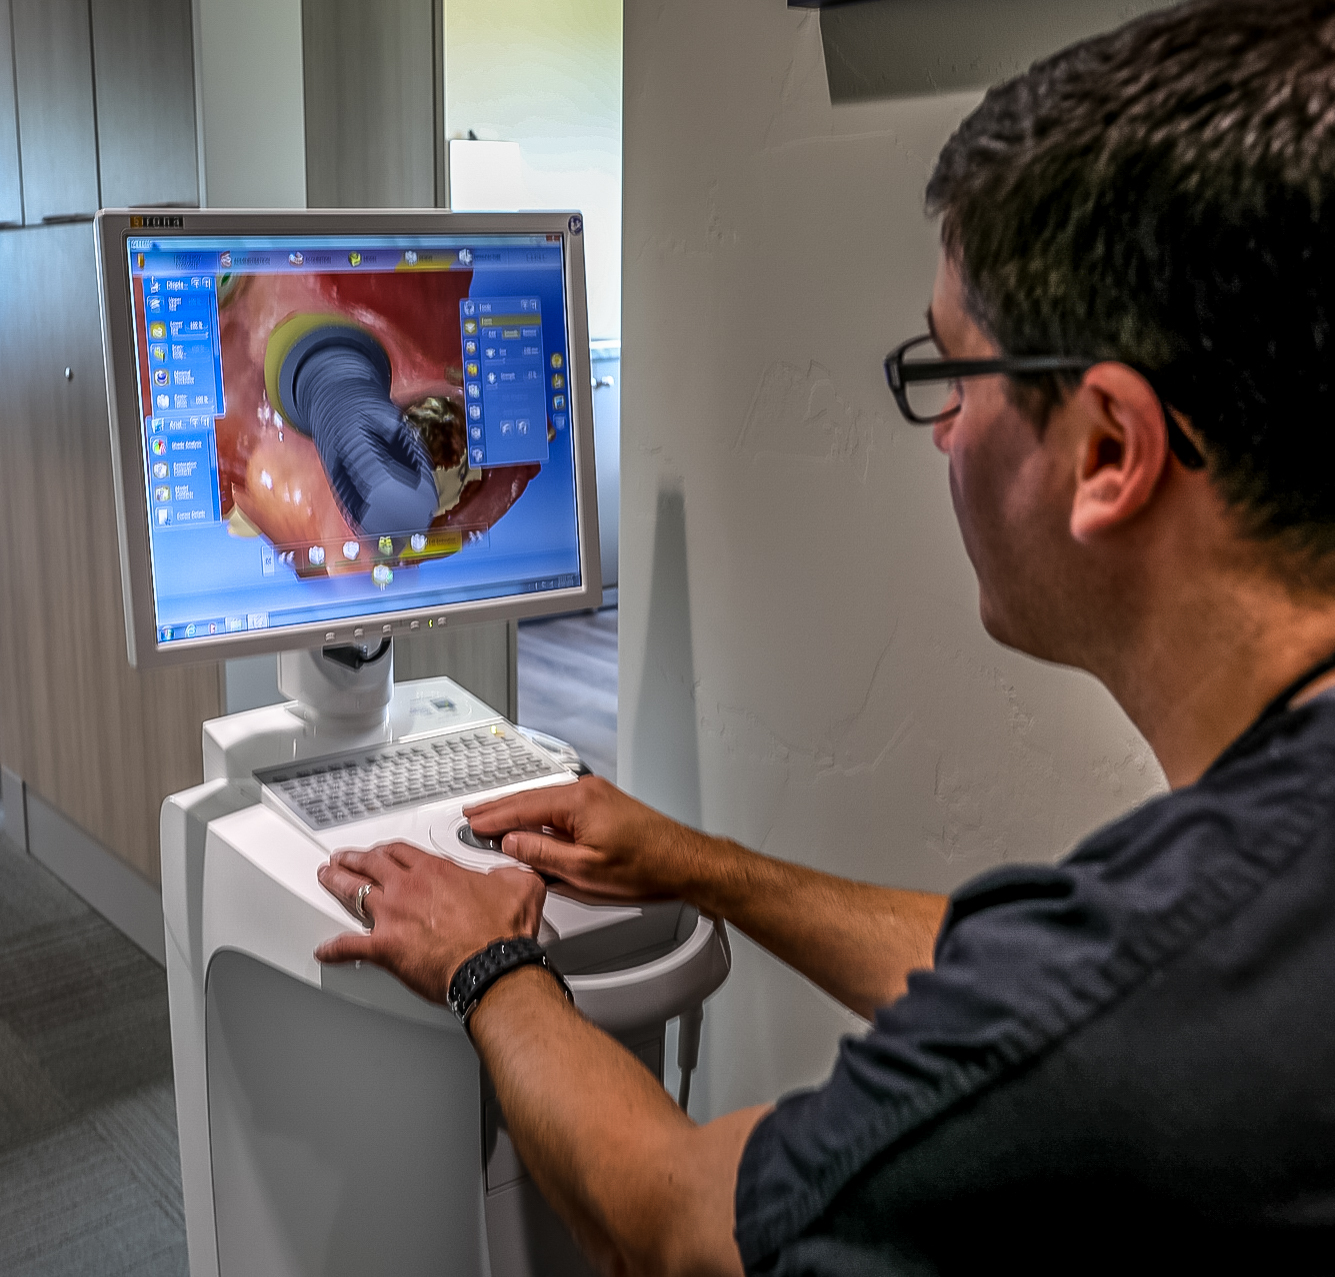
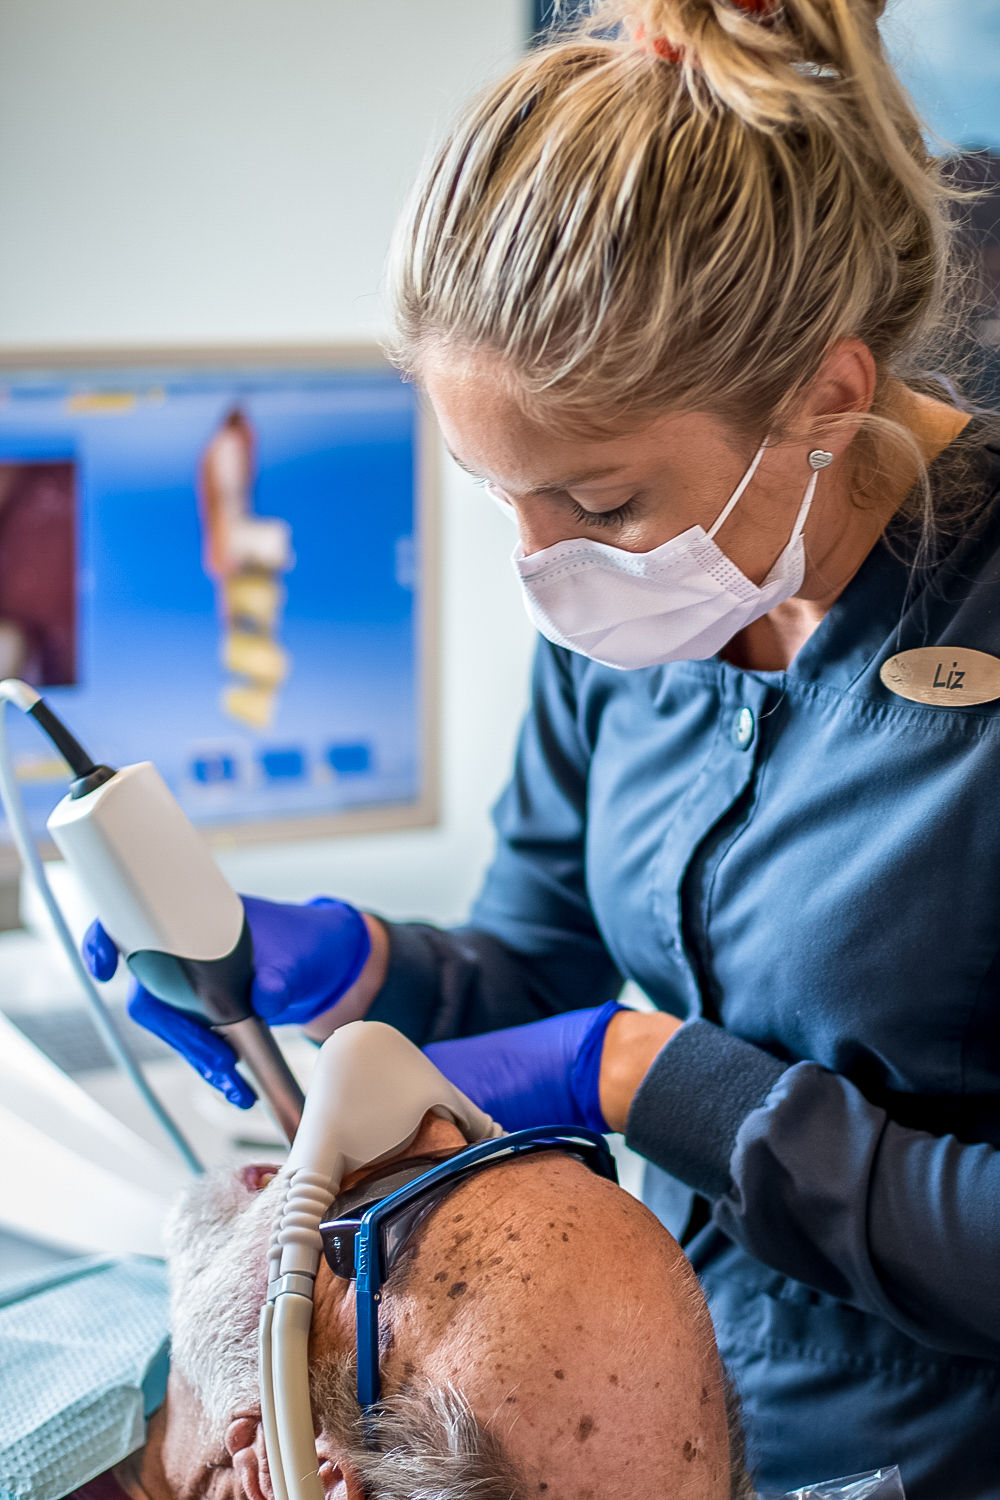
Chairside Economical Restorations of Esthetic Ceramic or CEREC® for short is a new state-of-the-art method of reconstructing tooth restorations. CEREC® uses computer-assisted design (CAD) and computer-aided manufacturing (CAM) to offer single-day restorations for patients. This new technology has revolutionized ceramic restorations such as crowns and veneers for patients so that there is no longer a wait between preparing the restoration and finally receiving the finished product. With CEREC®, the technology is used while you are sitting in the dental chair, which is both economical for you and your dentist. The restorations created are metal-free and tooth colored to restore your tooth to its natural beauty, strength and function. With CEREC®’s CAD-CAM technology, these ceramic restorations can all be done in one single visit to the dentist.


